| Homestead Experience Cont. |
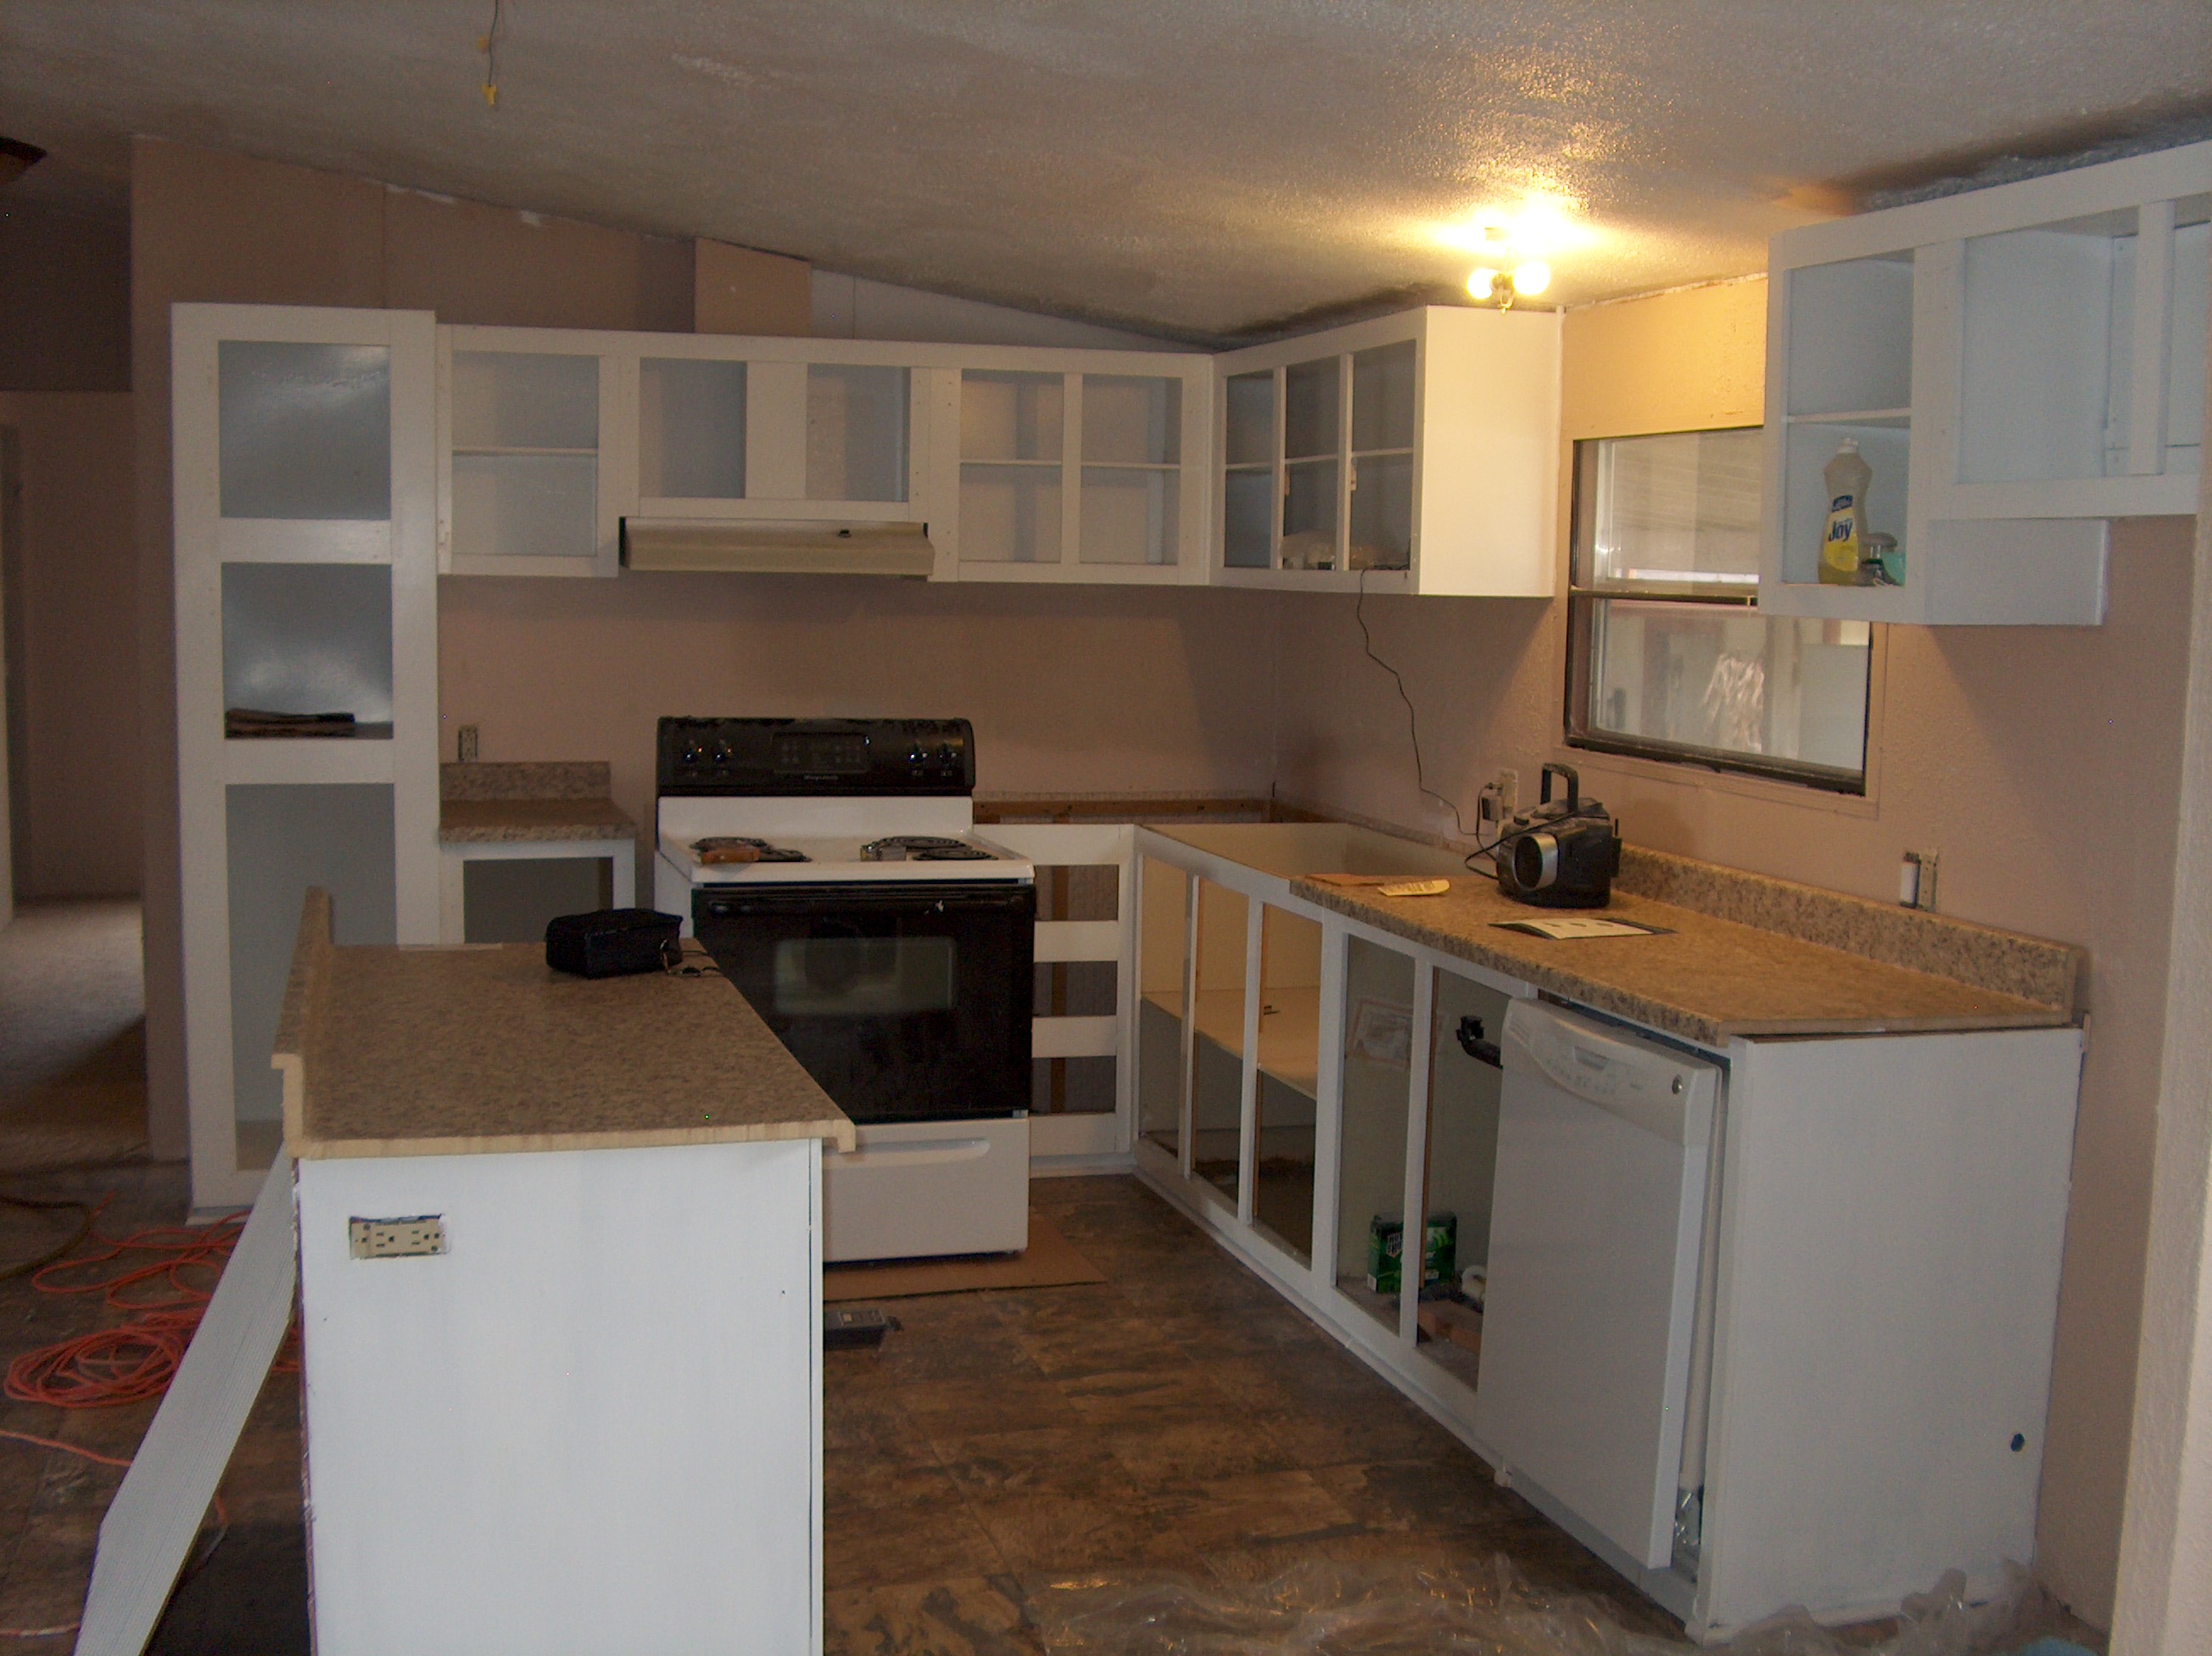


| The kitchen make over is moving forward. At Lowe's I was able to find pre fab counter tops which could be made to fit my existing cabinets. The upper left photo shows the cabinets after being painted white, and with the new counter tops. The photo on the upper right shows the new stainless steel double deep sink, and the new faucet. In the upper left photo you can see the island has a new top. This top is only temporary. My plan is to raise the over all height of the island and replace with a much wider top. I could not find a pre fab counter top that would meet my requirements, so I will need to special order one. The cost of this is about $500., so it will be put off for the time being. For now, I have made a island top from the left over pieces after completing the cabinet tops. |

| One of my other big projects in the house involved the fireplace. On the right you can see a photo of what the original fireplace looked like. The front was a faux lava rock looking material, and the mantel was just a rough piece of cedar. My wife thought the fireplace made the house look very dated, and she wanted it to have a make over. I looked at tearing the faux rock off of the wall, and quickly found out this wasn't going to work. The rock panels had been screwed and glued to the plywood frame of the fireplace, and it would require tearing everything completely out in order to remove the faux rock. |
| Since I could not remove the faux lava rock, I had to find a way to deal with it. My wife told me to just paint it the same beige color as the walls, but I knew this would not be an acceptable solution. My first thought was to simply mortar over the lava rock, but this idea didn't work at first. The rock is so porous and uneven that I could not trowel on the mortar. Then I had a really good idea to use a method used in adobe construction. I placed a drop cloth on the floor beneath the fireplace. The floor was still bare, but I didn't want any clumps of mortar to be stuck to the floor boards. This could cause issues later when I got ready to lay carpet. Anyway, after covering the floor with plastic, I brought in my wheel barrow and mixed up a large batch of ready mix. I made the mortar the consistency of a sticky mud pie, and once completed I took a handful at a time, worked it into a mud ball in my hand, then standing about 10 foot away from the wall I threw the ball of mortar against the faux rock with a good deal of force. It took me a few minutes to get the consistency of the mortar just right, but once I did I was able to throw baseball size wads of mortar against the wall without any of it coming off. I continued throwing balls of mortar against the faux rock until the entire front of the fireplace was covered. Oh, I forgot to add that before I began applying mortar I had removed the wooden mantel. |

| Here I've started throwing the mortar against the faux lava rock. |

| After completely covering the faux lava rock with the balls of mortar, I took my hands and began smoothing out the surface of the mortar. Working with mortar can be very hard on your hands, so I always wore a pair of rubber gloves while handling the mortar mix. I found that I could wet the rubber gloves, then rub my hands over the mortar and get a nice smooth texture. Because the faux lava rock was so uneven, it would have required me to build up a very thick layer of mortar to even out the surface, so instead of trying to get everything even and flush, I simply wanted a nice smooth surface. In my opinion it came out very nice. The outer surface is fairly smooth, but it still has a rustic stone appearance. After the mortar was finished to my liking, I let it dry for several days before doing anything else to it. As you can see in the photo on the right, the front of the fireplace smoothed out very nicely. Eventually I will either tile over the mortar, or simply paint it a beige color as my wife originally wanted. |


| Most of the demolition is finished. As I had mentioned previously, in order to save money I had been piling all of the demo debris in the driveway until I was finished. I called and had a large dumpster delivered, and I had two weeks to fill it before the company came and picked it back up. As you can see in the above photos, the dumpster was pretty large, and I filled it up about as full as it could be. |


| The house is coming along nicely, and it's time to put down some flooring. Originally my wife and I had decided we wanted wood floors through out the house. I started shopping around and doing the math, and once again found out what we wanted just wasn't in the budget. Not to mention, it was going to take me quite a long time to get all of that wood flooring installed by myself. We started looking at options and decided it might be best if we put carpet through out most of the house, and vinyl in the rest. Once again I found myself back at Lowe's. They had a special going where my entire install cost would only be $69. for the entire house. My wife found a nice stain resistant carpet she liked, and a vinyl floor that looked very much like actual tiles. We had just enough money left in our budget to pay for the materials and labor, so we went ahead and purchased it. In the above pictures you can see the vinyl flooring after it was installed. We put the vinyl flooring in the kitchen and breakfast area, the laundry room, both bathrooms, and the front entry way. |

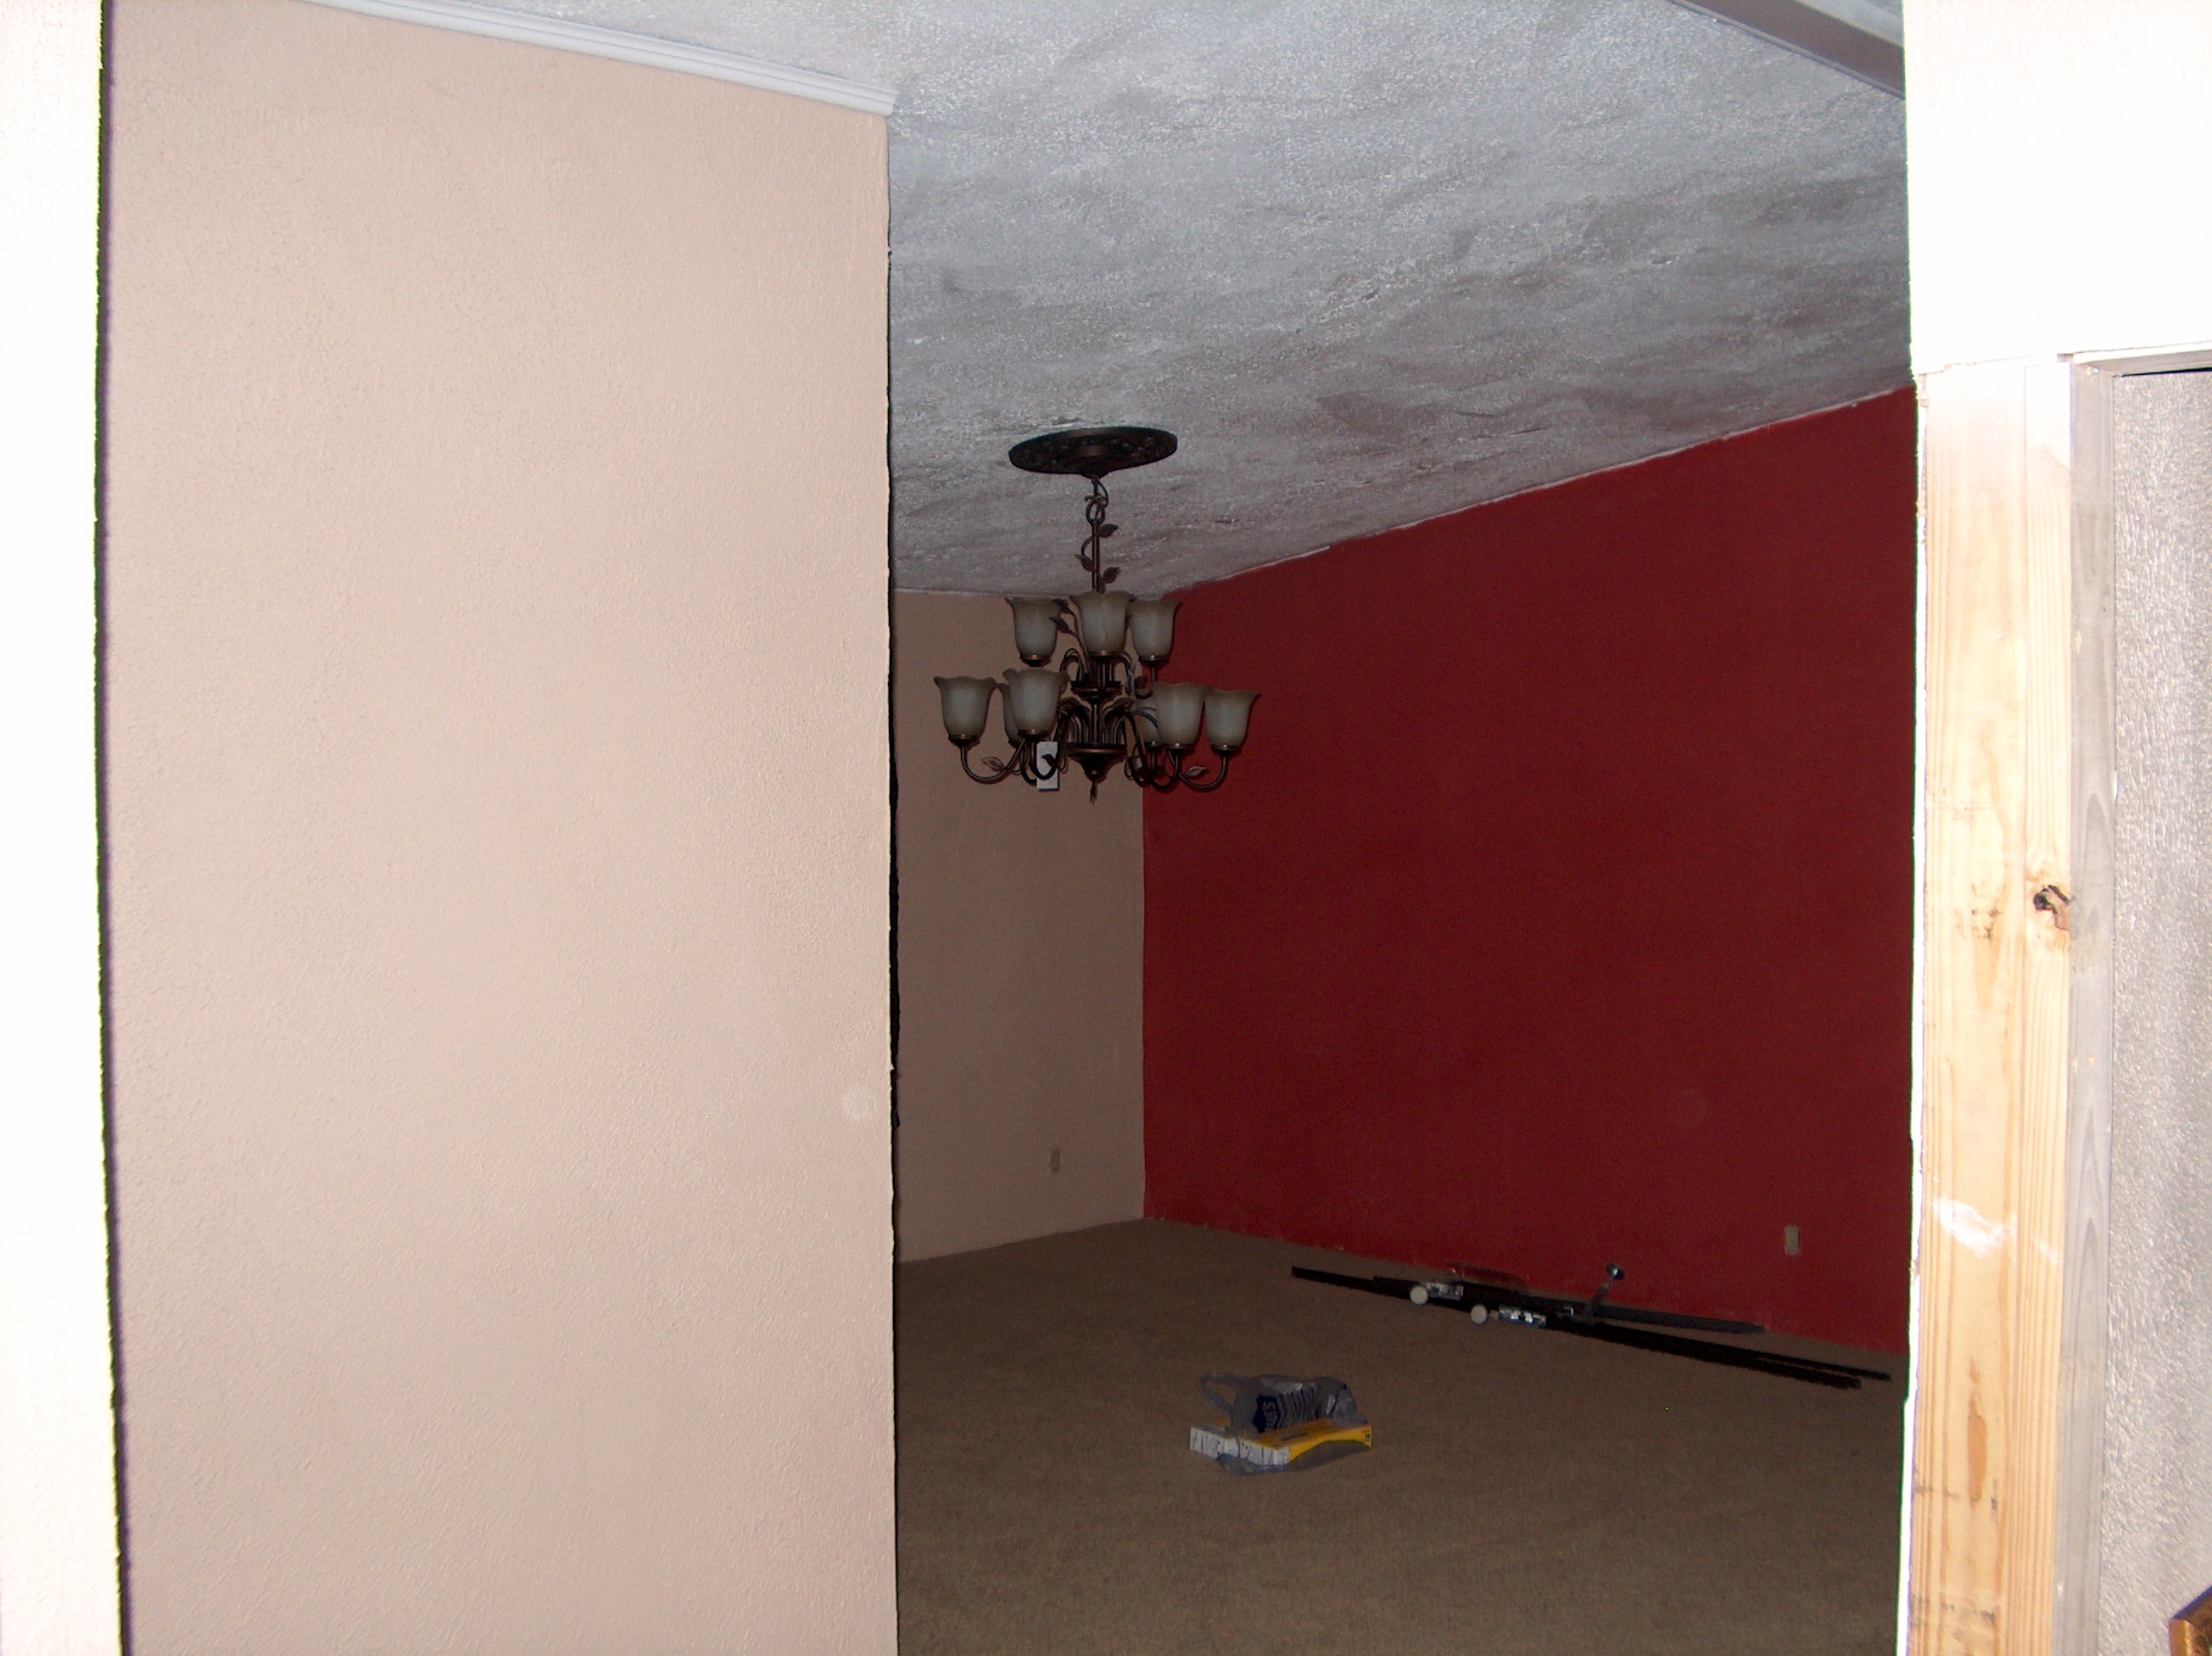

| Today I installed a couple of light fixtures in the home. The picture in the middle shows the new light installed over the island. Previously there was a 3 foot fluorescent light installed here. The pictures on the left and right show the large 9 light fixture I installed in the dining room. I also installed a decorative medallion on the ceiling above the fixture. Previously a ceiling fan and light were installed in this location. |