| THE HOMESTEAD EXPERIENCE CONTINUED |
| The office addition is completed, and now I'm starting on the sheetrock. Originally I thought I'd have a little sheetrock work to do in the areas with water damage. As it stands now, I've got major sheetrock work too do in every area of the house. Since most of the sheetrock work is on outer walls I wanted to make sure I insulated and sealed everything really well. To accomplish this I purchased some half inch foam board with a foil layer on one side. I cut the foam board to fit each area between the studs, put it into place with the foil side facing out, and secured everything using a spray foam insulation. |

| On the left you can see an example of the foam board in place. |
| After putting the foam board into place, I attached a layer of pink fiberglass insulation into the areas between the studs. I measured off the roll insulation and cut to fit each area. The roll insulation has paper flaps along the edges, which is used to secure the insulation in place. Once the insulation is rolled out in place, I unfolded the flaps over the edge of the studs and stapled it secure. The reason for this is to keep the insulation in place, so over time it does not settle and bunch up at the bottom leaving open areas at the top. Also, by stapling the flaps to the stud edges, once the sheetrock is nailed into place, it will also help hold the insulation in place. Between the foil lined foam board, spray on expandable foam insulation, and the pink fiberglass insulation, I think the outer wall areas that I repaired should be very well sealed and insulated. |


| On the left you can see an example of the pink insulation put into place. |
| On the right is a photo of the office walls with the sheetrock going up. If you look at the ceiling in the photo, you can also see where I removed the short wall in the living room area. The wall had one electric outlet located about half way down the wall, and approximately 6 inches from the floor. When I began tearing out the wall I discovered that the electric wiring for this outlet dropped down into the wall from the ceiling. In the photo you can see the wire hanging down. After tearing the wall out, I rerouted the wire down the outer wall and relocated the outlet by the front door. |

| After completing the sheetrock repairs, I had another major project to tackle. The Home was originally built in the late 1980's, and at the time popcorn ceilings were all the rage. Now, the popcorn ceiling just looks dull and dated. Also, the ceiling had a number of areas that had sustained water damage and had to be repaired. The decision was made to redo the ceiling and get rid of the popcorn. I had never worked with popcorn ceilings before, so I went on the internet and began doing research. It became very obvious to me that removing the popcorn ceiling was going to be a major under taking, and very time consuming. It was suggested to me that it would probably be easier if I just sheetrocked over the existing popcorn ceiling. In this process I would simply nail or screw 1/4 inch sheetrock over the popcorn ceiling, and then plaster and paint just like I had a new ceiling. This seemed like a good solution to the problem, so I measured off the ceiling of the entire house, and calculated how much square footage of sheetrock it would take to redo the entire house. I had no idea how much square footage there was on the ceiling, and after pricing out the sheetrock it would take to cover the entire ceiling, I found it cost prohibitive. I began looking for a plan "B" to get rid of the popcorn ceiling, and I found an article that described how you could wet the popcorn with a soap and water solution, then scrap it off with a putty knife. I decided to give it a try. I purchased a trigger spray bottle at the dollar store, and a bottle of the cheapest dish soap I could find. I sprayed a small area of the ceiling with a soap and water solution, and let it set for about 10 minutes. I then took a putty knife and tried to scrap the popcorn off of the ceiling. Much to my amazement, the popcorn came off fairly easy. The popcorn is made from an asbestos material, so before I took on the full popcorn removal, I took a few precautions. I dressed in old clothes, covered my head with a bandanna, covered my eyes with some full goggles, and put a particle mask over my nose and mouth. Dressed for battle I began the slow long process of removing all of the popcorn from the ceiling of the home. It was very labor intensive, and took several 12 hour days to complete, but eventually it got finished. |


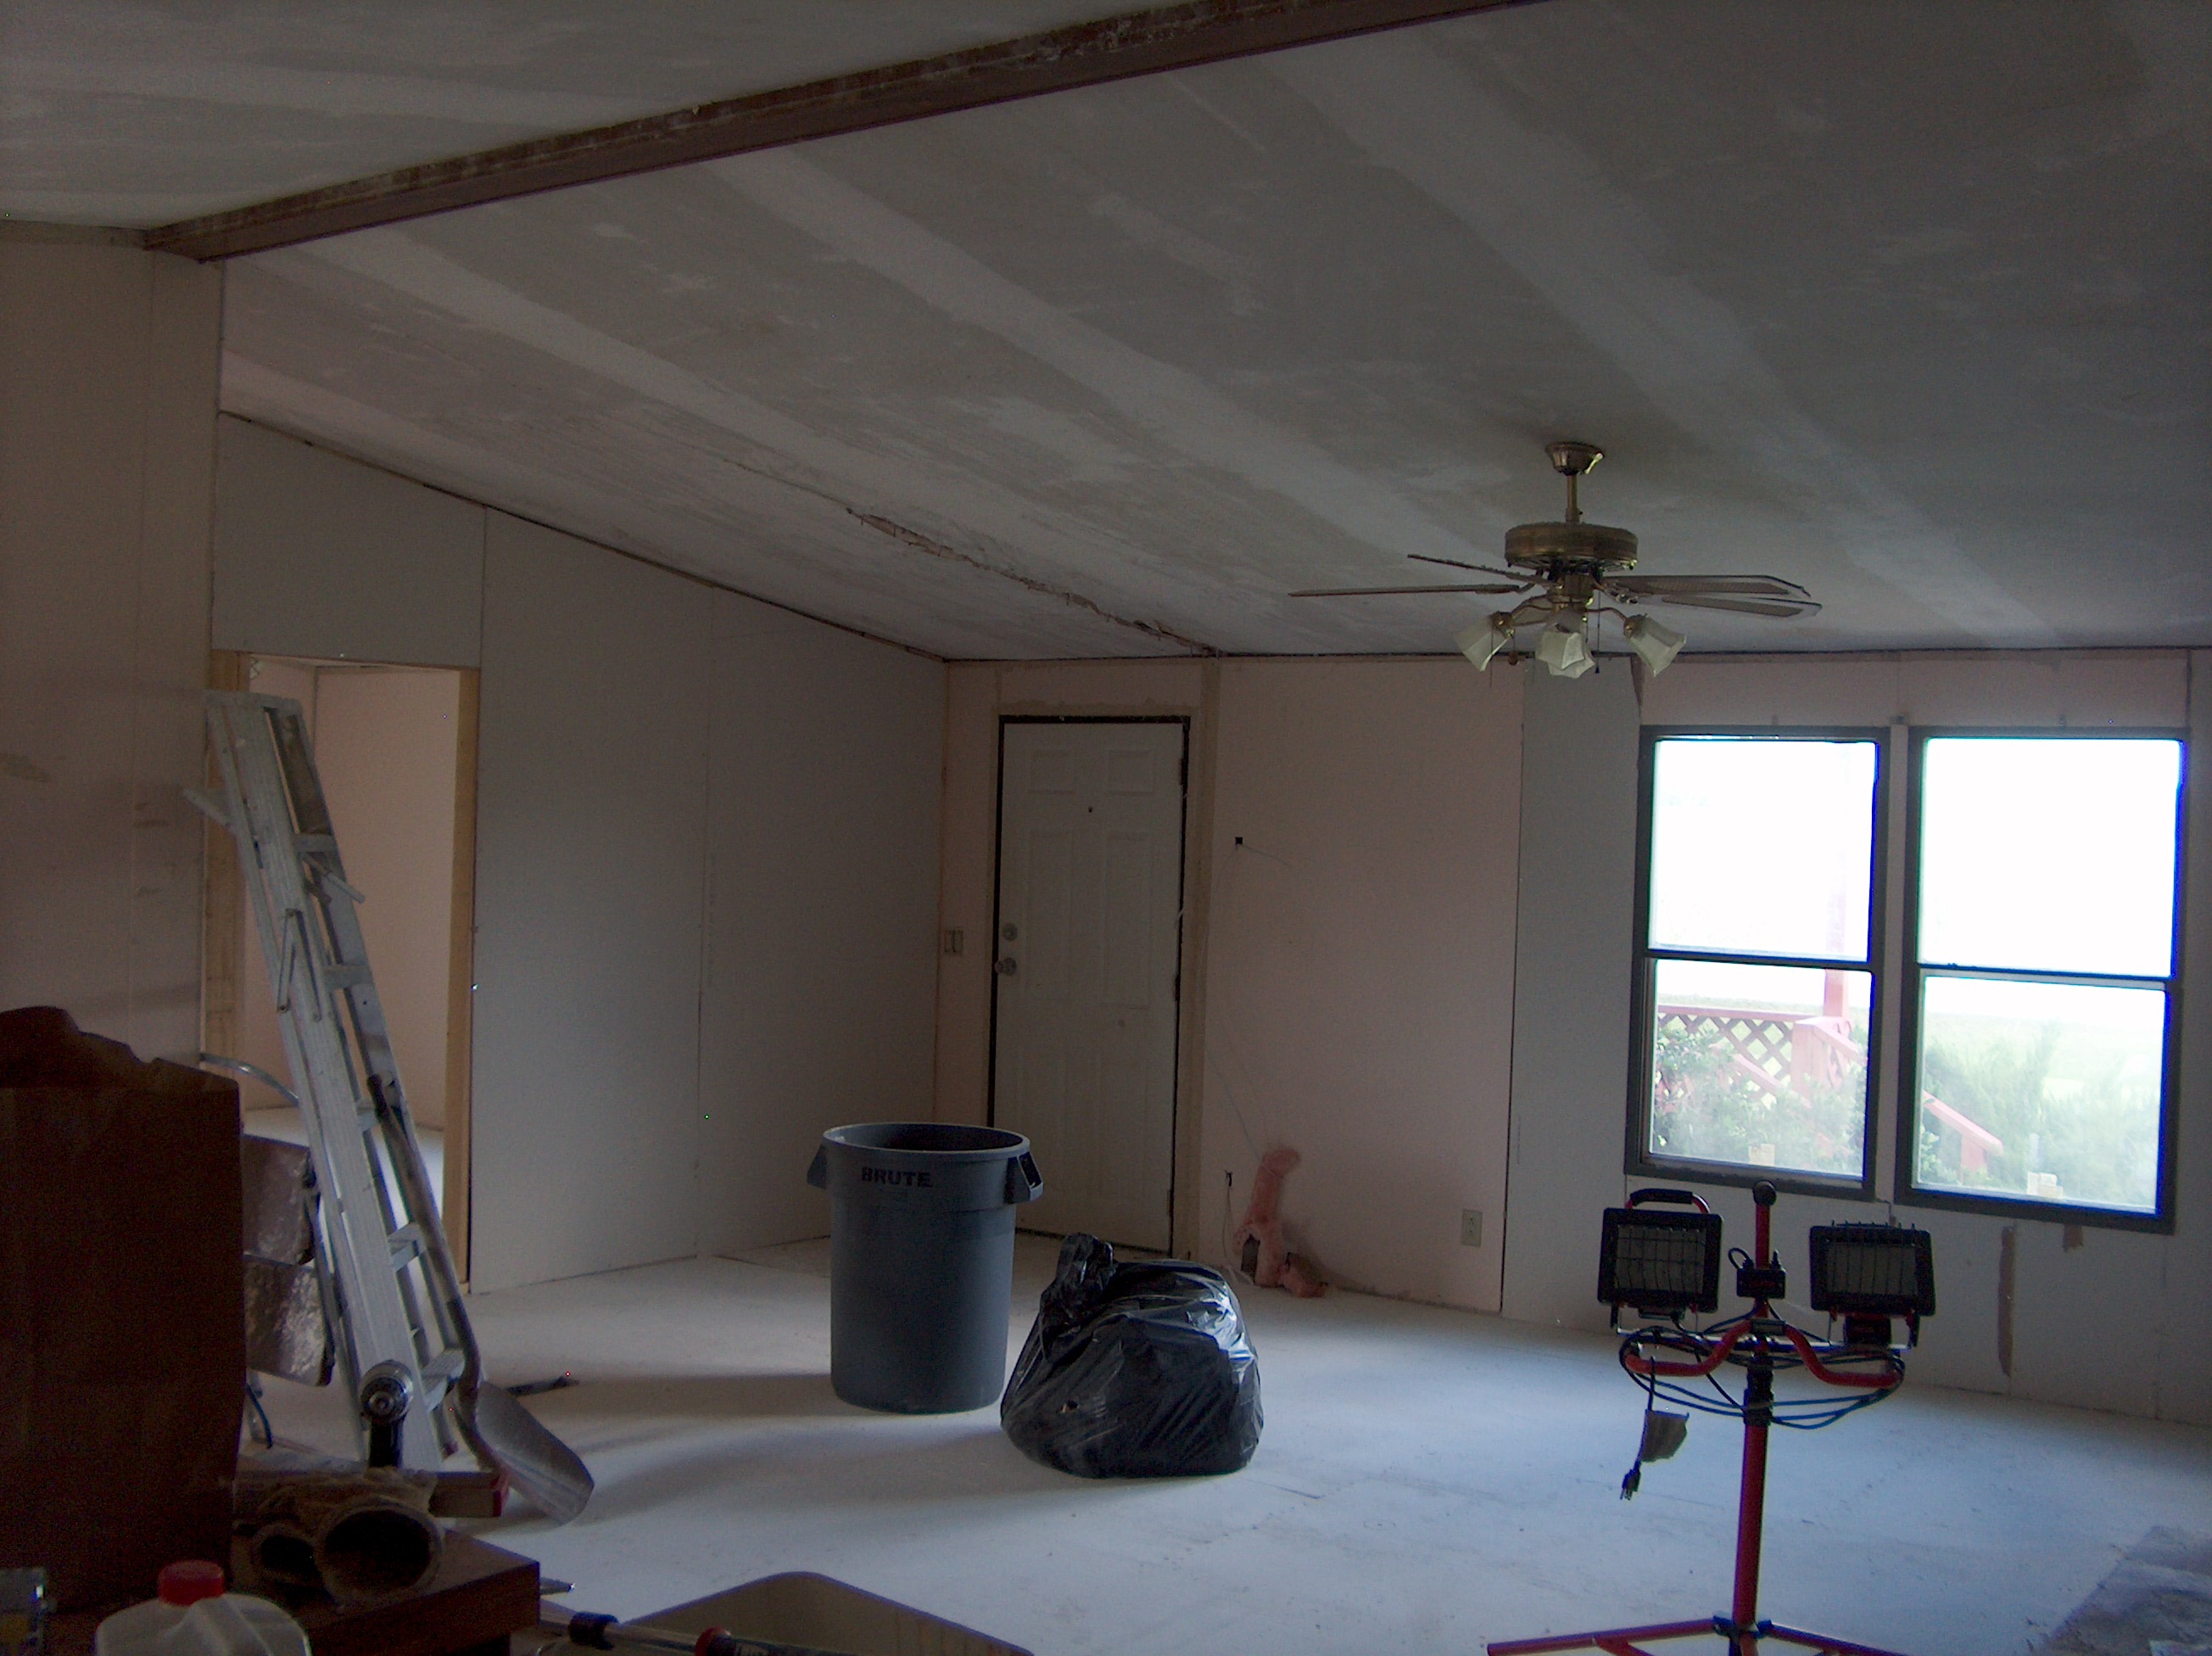

| Here are a few photos of the ceiling as I worked on scrapping the popcorn off. It is not a very easy job, but it worked and did not cost much. |
| This remodeling job just keeps on giving me surprise after surprise. Originally the home was sheetrocked was 1/4 inch sheets with pre-applied wall paper on them. At some point the interior had been painted with a latex paint, and in many places the paint was peeling off. Before I could finish the walls, I had to go through the house and scrap any loose paint that was peeling off. Also, because the original walls had been wall papered sheetrock, the seams between the panels were never plastered. Instead the original builders had used thin wall papered strips of veneer to cover the seam between the sheetrock panels. To finish the walls properly, I had to go through the entire home, removing the veneer strips, and taping and floating each seam. Of course I also had to tape and float each sheetrock repair that I had done throughout the home, so once again I had a very labor intensive and time consuming job to do that I had not previously planned for. |


| Here are some photos of my tape and float work. Taping and floating involves using plaster and a paper tape to seal the seams and edges of the sheetrock. I also plastered over the nails used to secure the sheetrock to the walls. Using a trowel I applied the plaster and smoothed it out as smooth and even as possible. In many cases after taping and floating, you would go back and sand the plaster smooth before painting, but because I plan on applying a rough texture to the wall, I was able to skip that step. |
| Now that I have taped and floated the entire house, and scrapped the popcorn off of the ceiling throughout the entire house, I am ready to apply texture. There are many different ways of applying texture to a wall and ceiling. Some use a trowel, others use brushes or brooms, but all take practice and a degree of skill in order to get a good looking consistent texture. I decided to take a simple route, and roll on the texture using a special texture roller. It is a method similar to rolling on paint, but instead of paint you use the same plaster used for the taping and floating. With a little practice, I found I could control the roughness of the texture, and maintain a fairly consistent pattern throughout the house both on the walls and ceilings. |


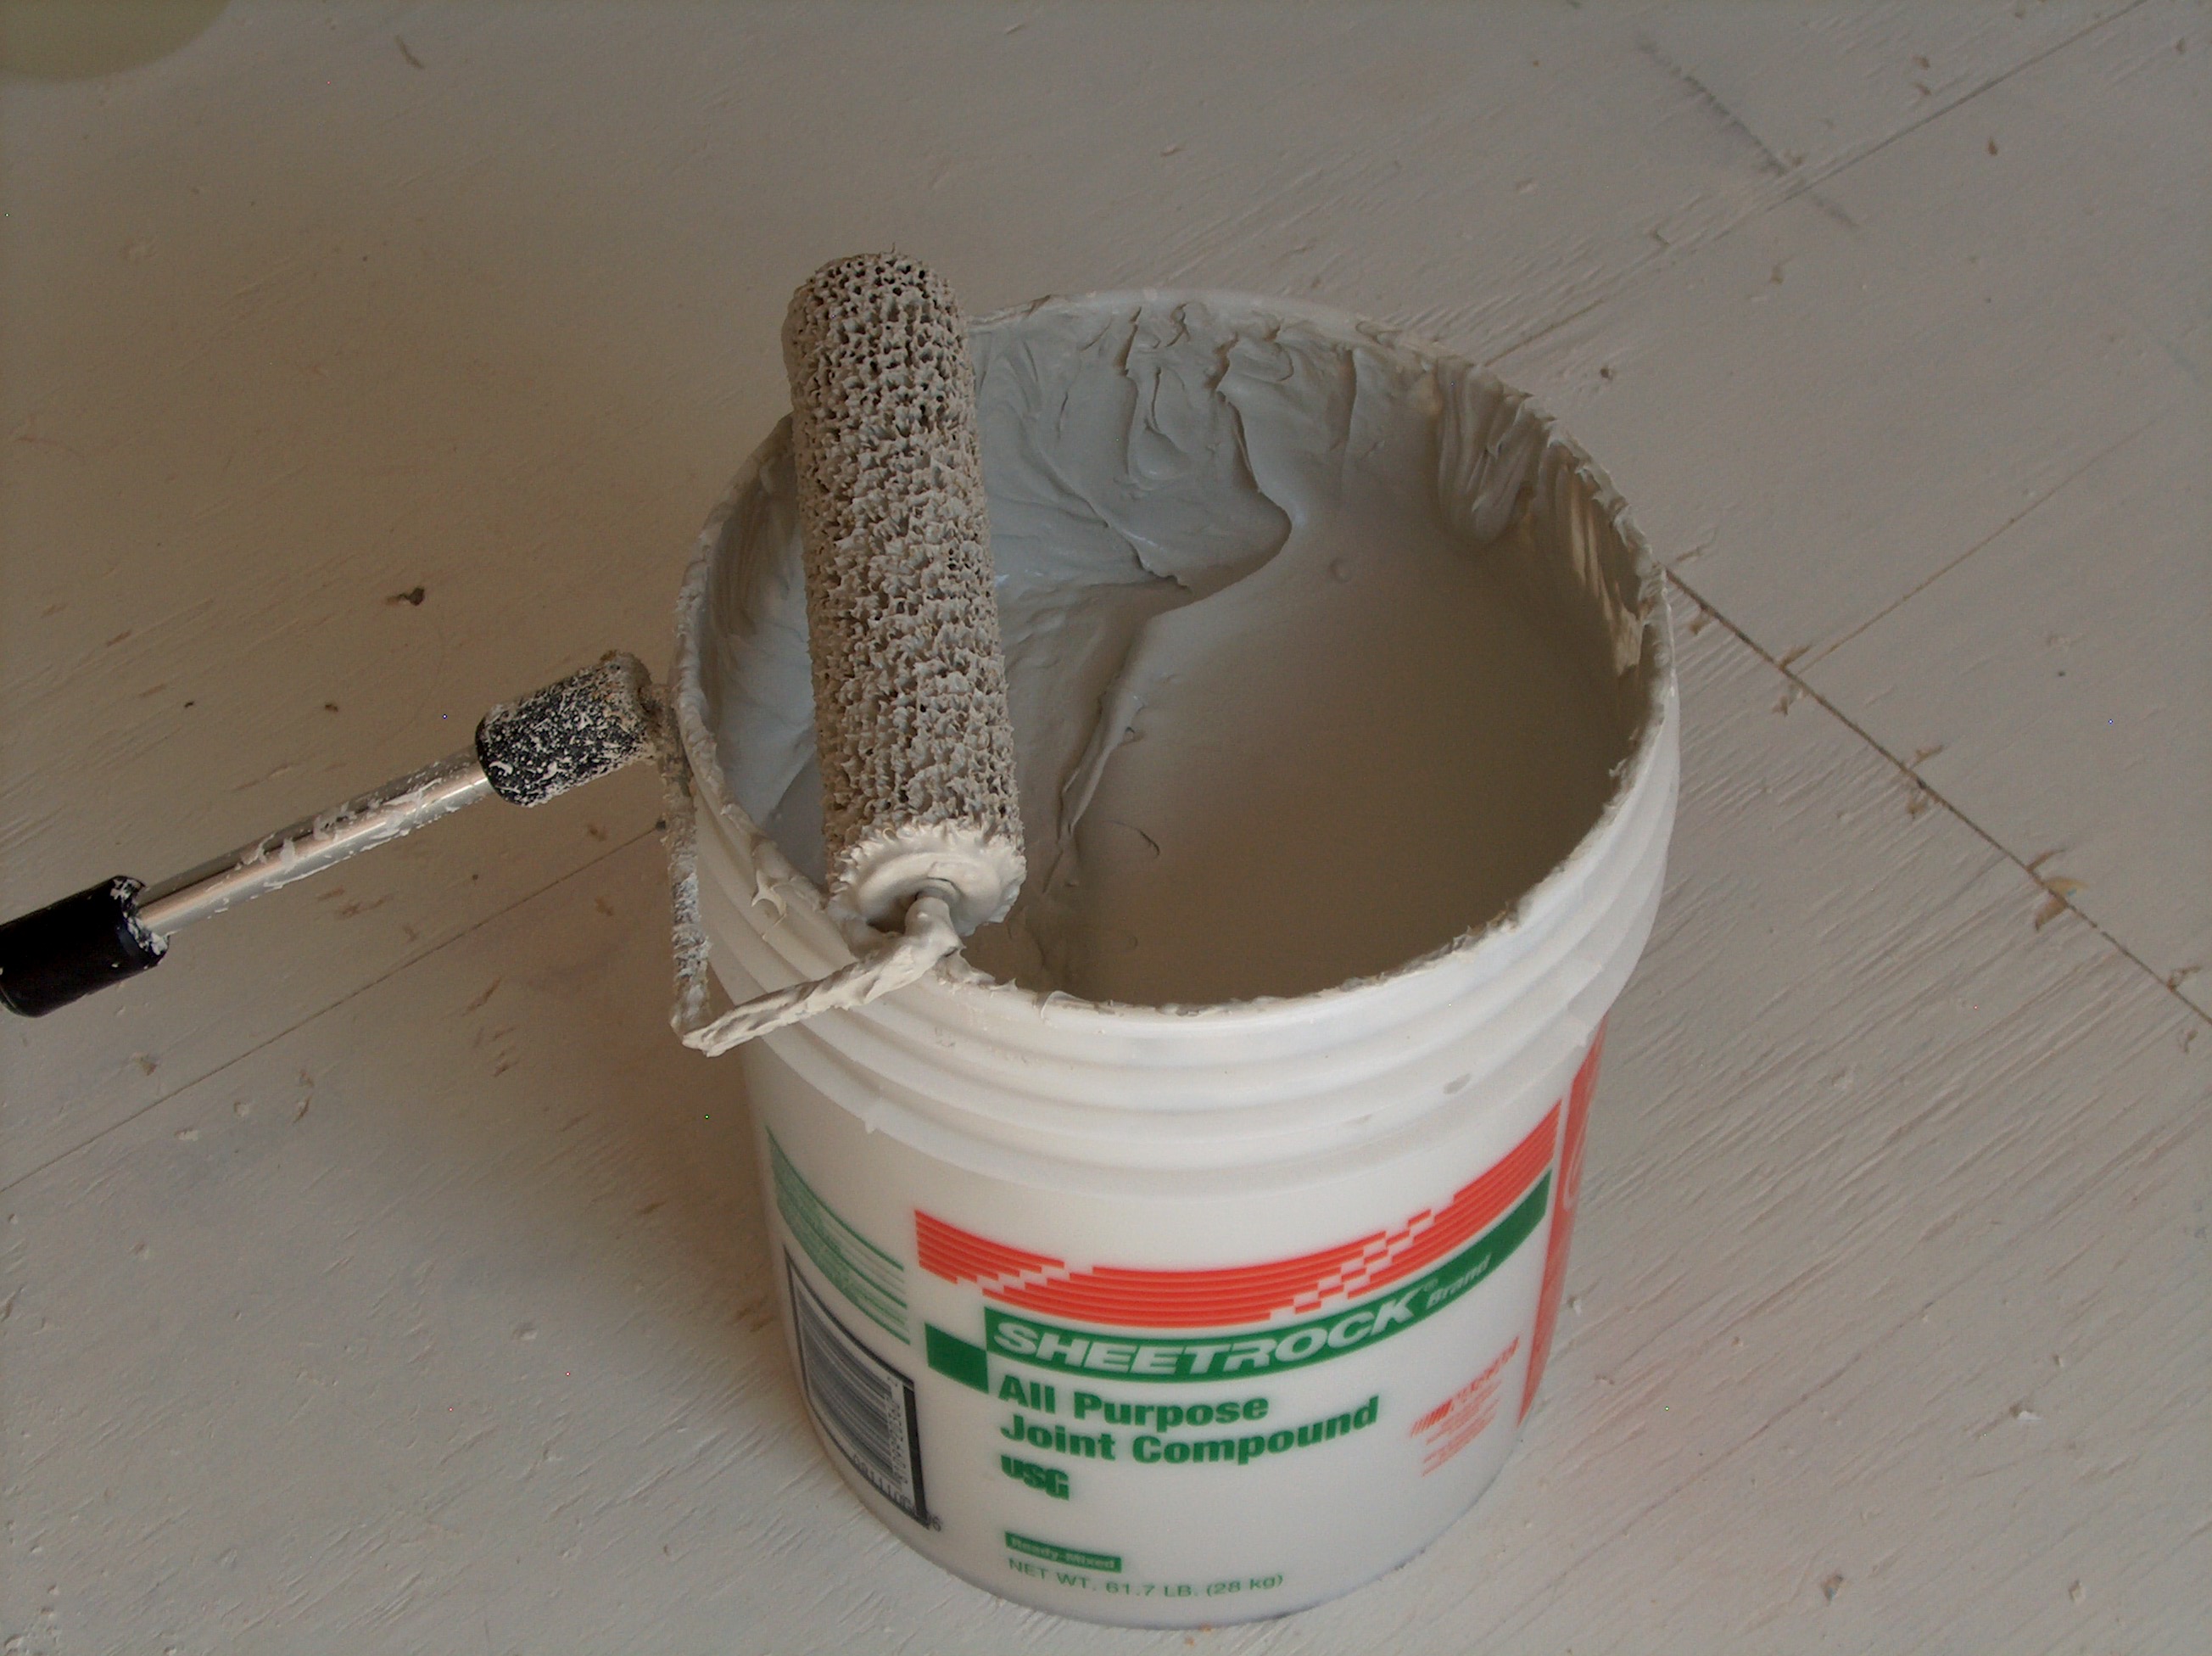
| Above is a photo of the texture roller, and the plaster used. The other photos above and too the left show the texture on the walls and ceiling. |
| It took several long days, but finally I got every wall in the house covered in texture, and textured the ceiling through out the house as well. The next step is to paint, but first I must make sure the plaster is completely dry. I have windows open, and fans running in the house, but because there is so much wet plaster throughout the house, walls and ceilings, the humidity is 100 percent! I'll have to wait several days before I will be able to paint in the house. |