| The homestead experience cont. |
| I decided the easiest thing would be to paint the walls first. Because I had pulled the flooring up throughout the entire house, I didn't have to worry about putting down drop clothes. I did however hang plastic over the windows, so I could avoid getting over spray on the glass. To make things faster and easier, I purchased a Wagner Power Painter deluxe model. The reason I went with the deluxe model was because it came with a suction tube that would allow me to draw paint directly from the can, instead of needing to refill a reservoir every few minutes. |


| Once the walls were painted, it was time to paint the ceiling. To avoid getting over spray on my freshly painted walls, I taped plastic sheeting along the top of the walls, allowing it to hang down like drapery. |


| My wife had picked out a nice beige color that she wanted throughout the entire home, so this is the color we painted the walls. The ceiling was painted a ultra white color. Once this was completed, my wife decided that she wanted a red accent wall in the dining room area. |


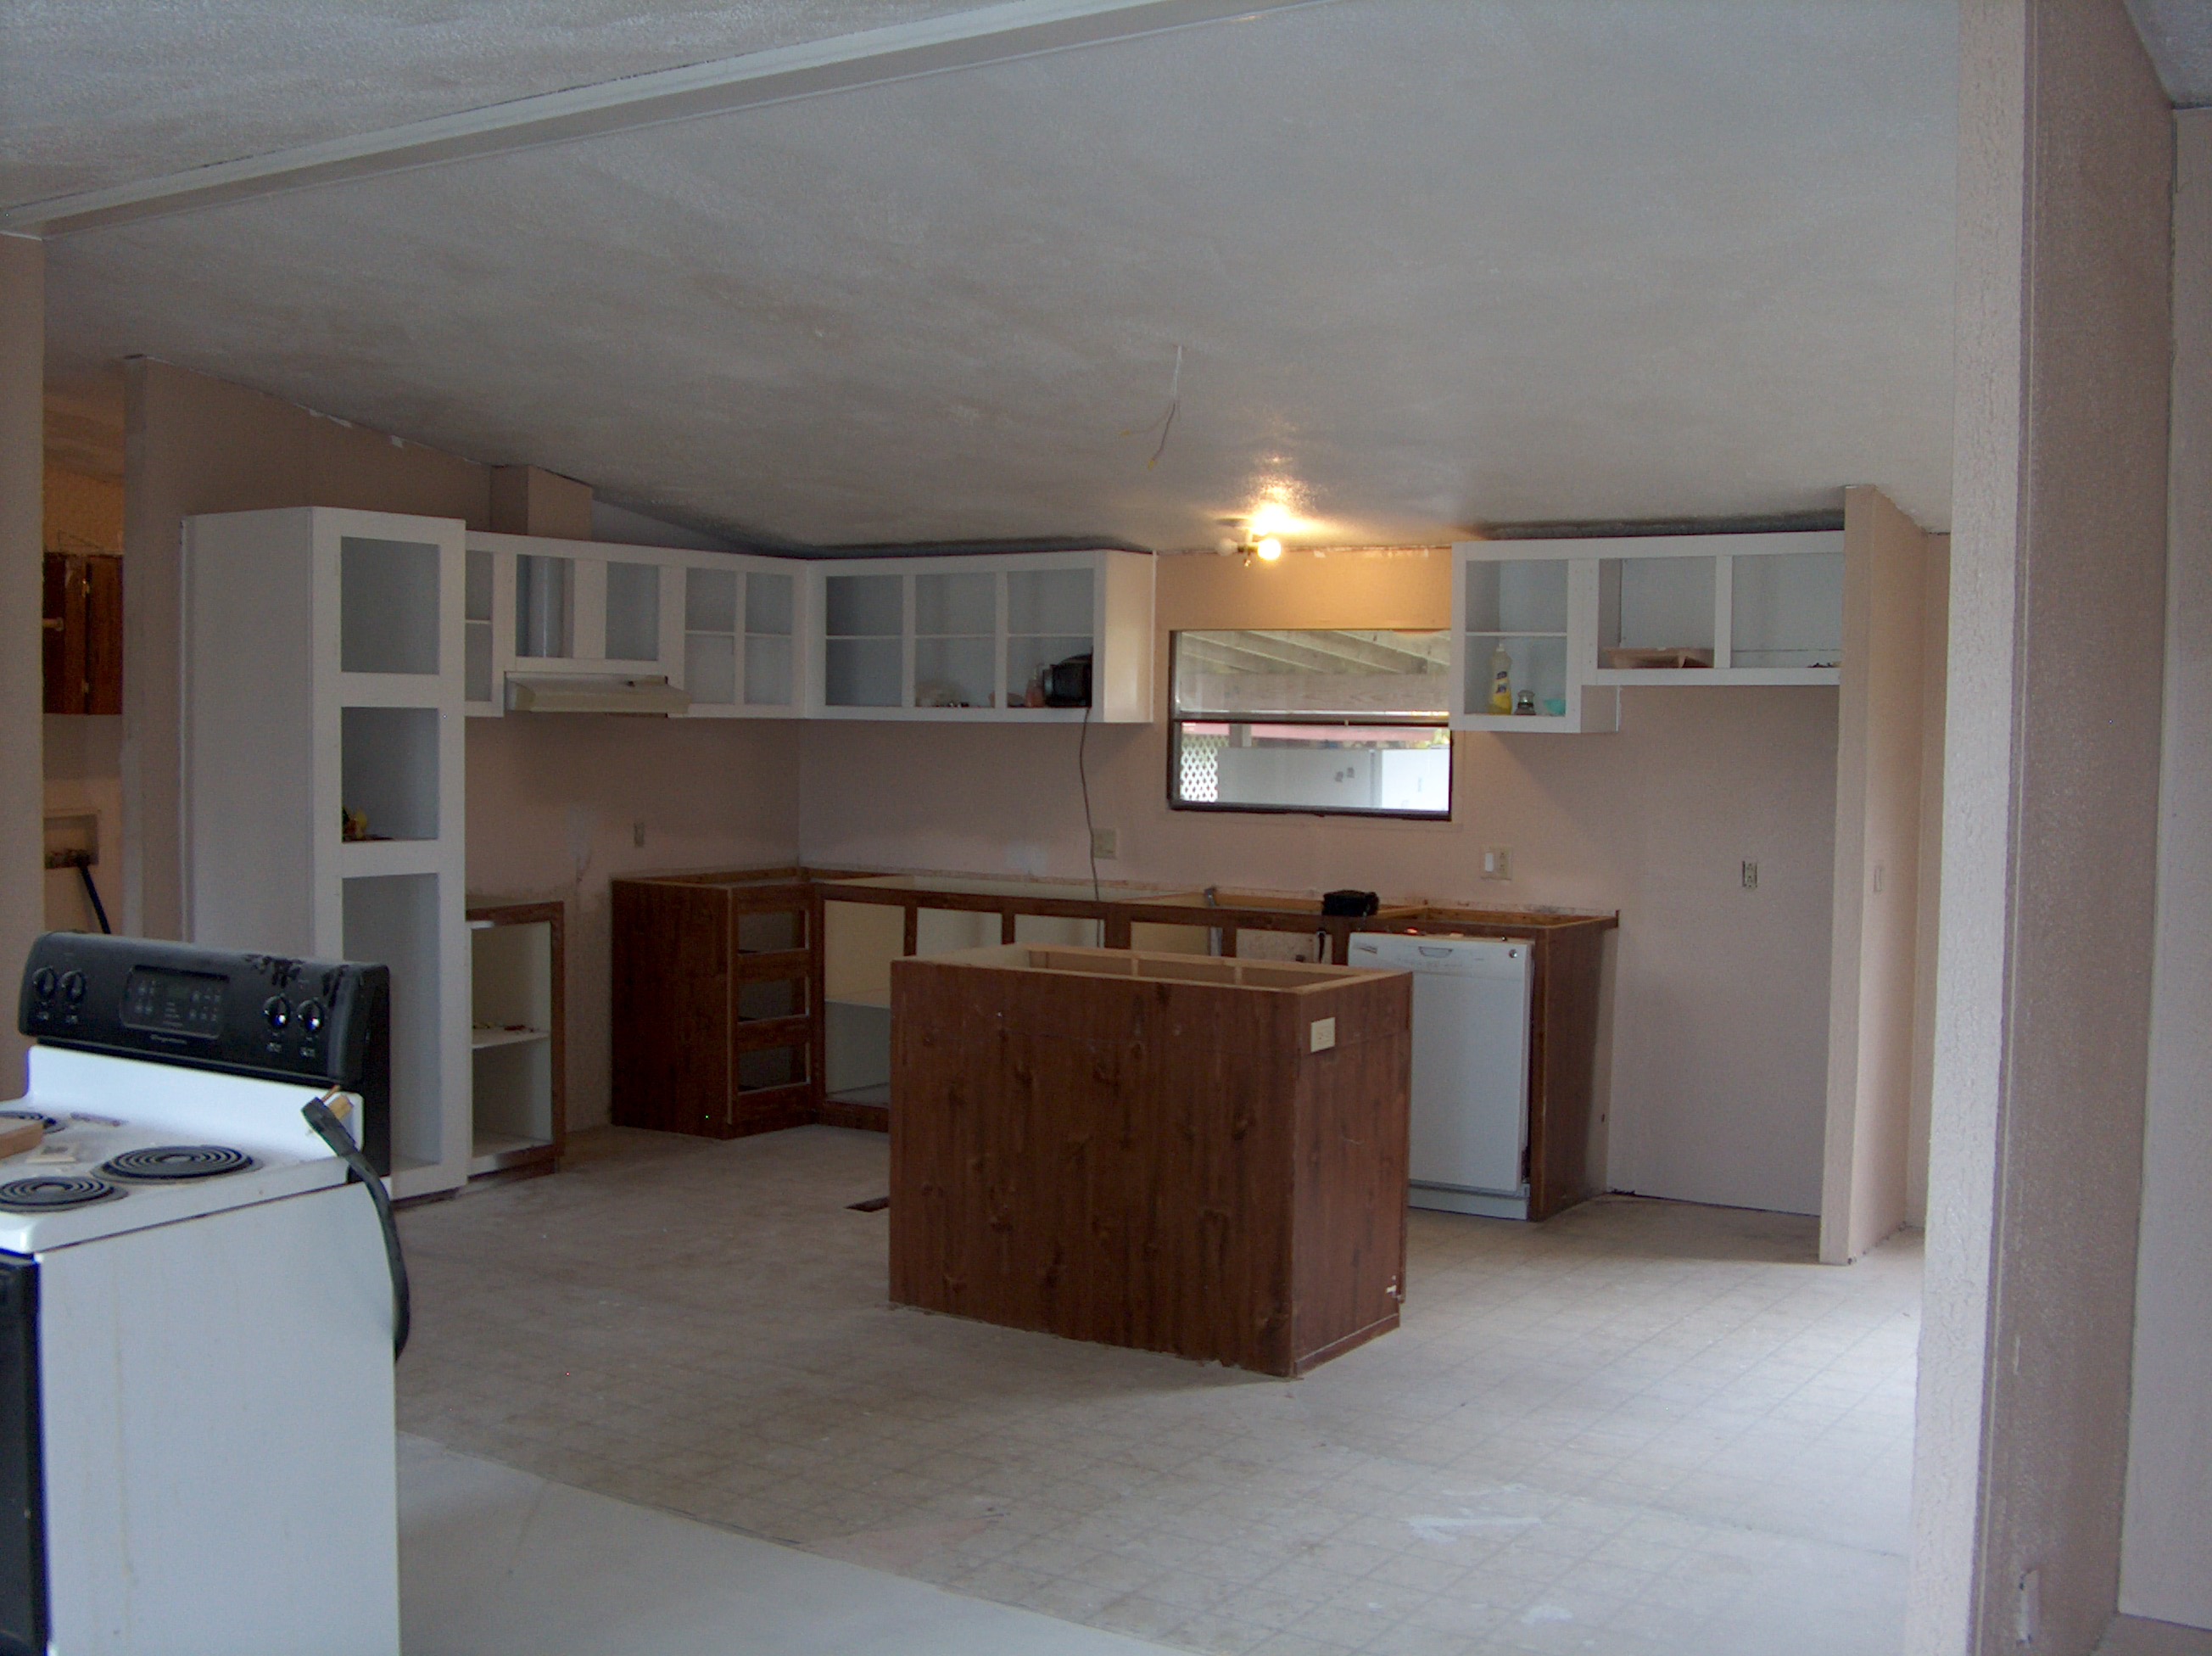
| The kitchen cabinets are another area where the house really looks dated, so we had to come up with a solution for this. The 1980's walnut cabinets had a wheat pattern cut into the front of the cabinet doors, which my wife really hated, so she wanted them gone. The cabinets themselves were pretty solid, so I decided to keep them, and rework the doors somehow. I removed the kitchen cabinet doors, and painted the cabinets themselves with the same ultra white paint I used on the ceiling. |


| I came up with a plan to fix the kitchen cabinet doors. I purchased some wood putty, and used it to fill in the wheat pattern etched into the front of the doors. I filled in the pattern, then sanded the doors down smooth. Once sanded I painted the doors with the same ultra white paint used on the ceiling and cabinets. Everything looked great, but after the paint dried, I could see a shadow of the wheat pattern through the paint. I put a second and third coat of paint on the doors, but I could still see a shadow of the wheat pattern under the paint. I decided to strip the doors done and start over. I sanded down the doors, down to bare wood again. This time I painted the doors with the Kilz primer like I used on the floors, then once dry I painted with the ultra white paint. Once again the shadow of the wheat pattern showed through. I applied several more coats of paint, but still the shadow of the pattern can be seen. I've got to come up with a new solution. |
| I'm trying to come up with a solution for the cabinet door problem, but currently I haven't solved it yet. I've checked into purchasing new doors, and it is entirely too expensive. So I must come up with a solution for fixing the doors we have. Meanwhile, I decided to finish the cabinets with new counter tops. The kitchen also has an island that needs some work. The island is pretty small, but has a shelve that runs around the back and side of the island itself. In order to make the island look more modern, and be more functional, I'm going to remove the shelf, raise the island slightly, and enlarge the island top. I measured the counter top, and was able to find a pre-fabricated counter top at Lowes for a very reasonable price. I tore out the existing counter top, and installed the new counter top using liquid nails to secure everything to the old cabinet frame. Because of my redesign of the island however, it required that I special order a top. The extra expense means that I will have to wait on finishing my island. Until then I'm using some left over counter top on top of the island so we can use it until the new island top is ready. |
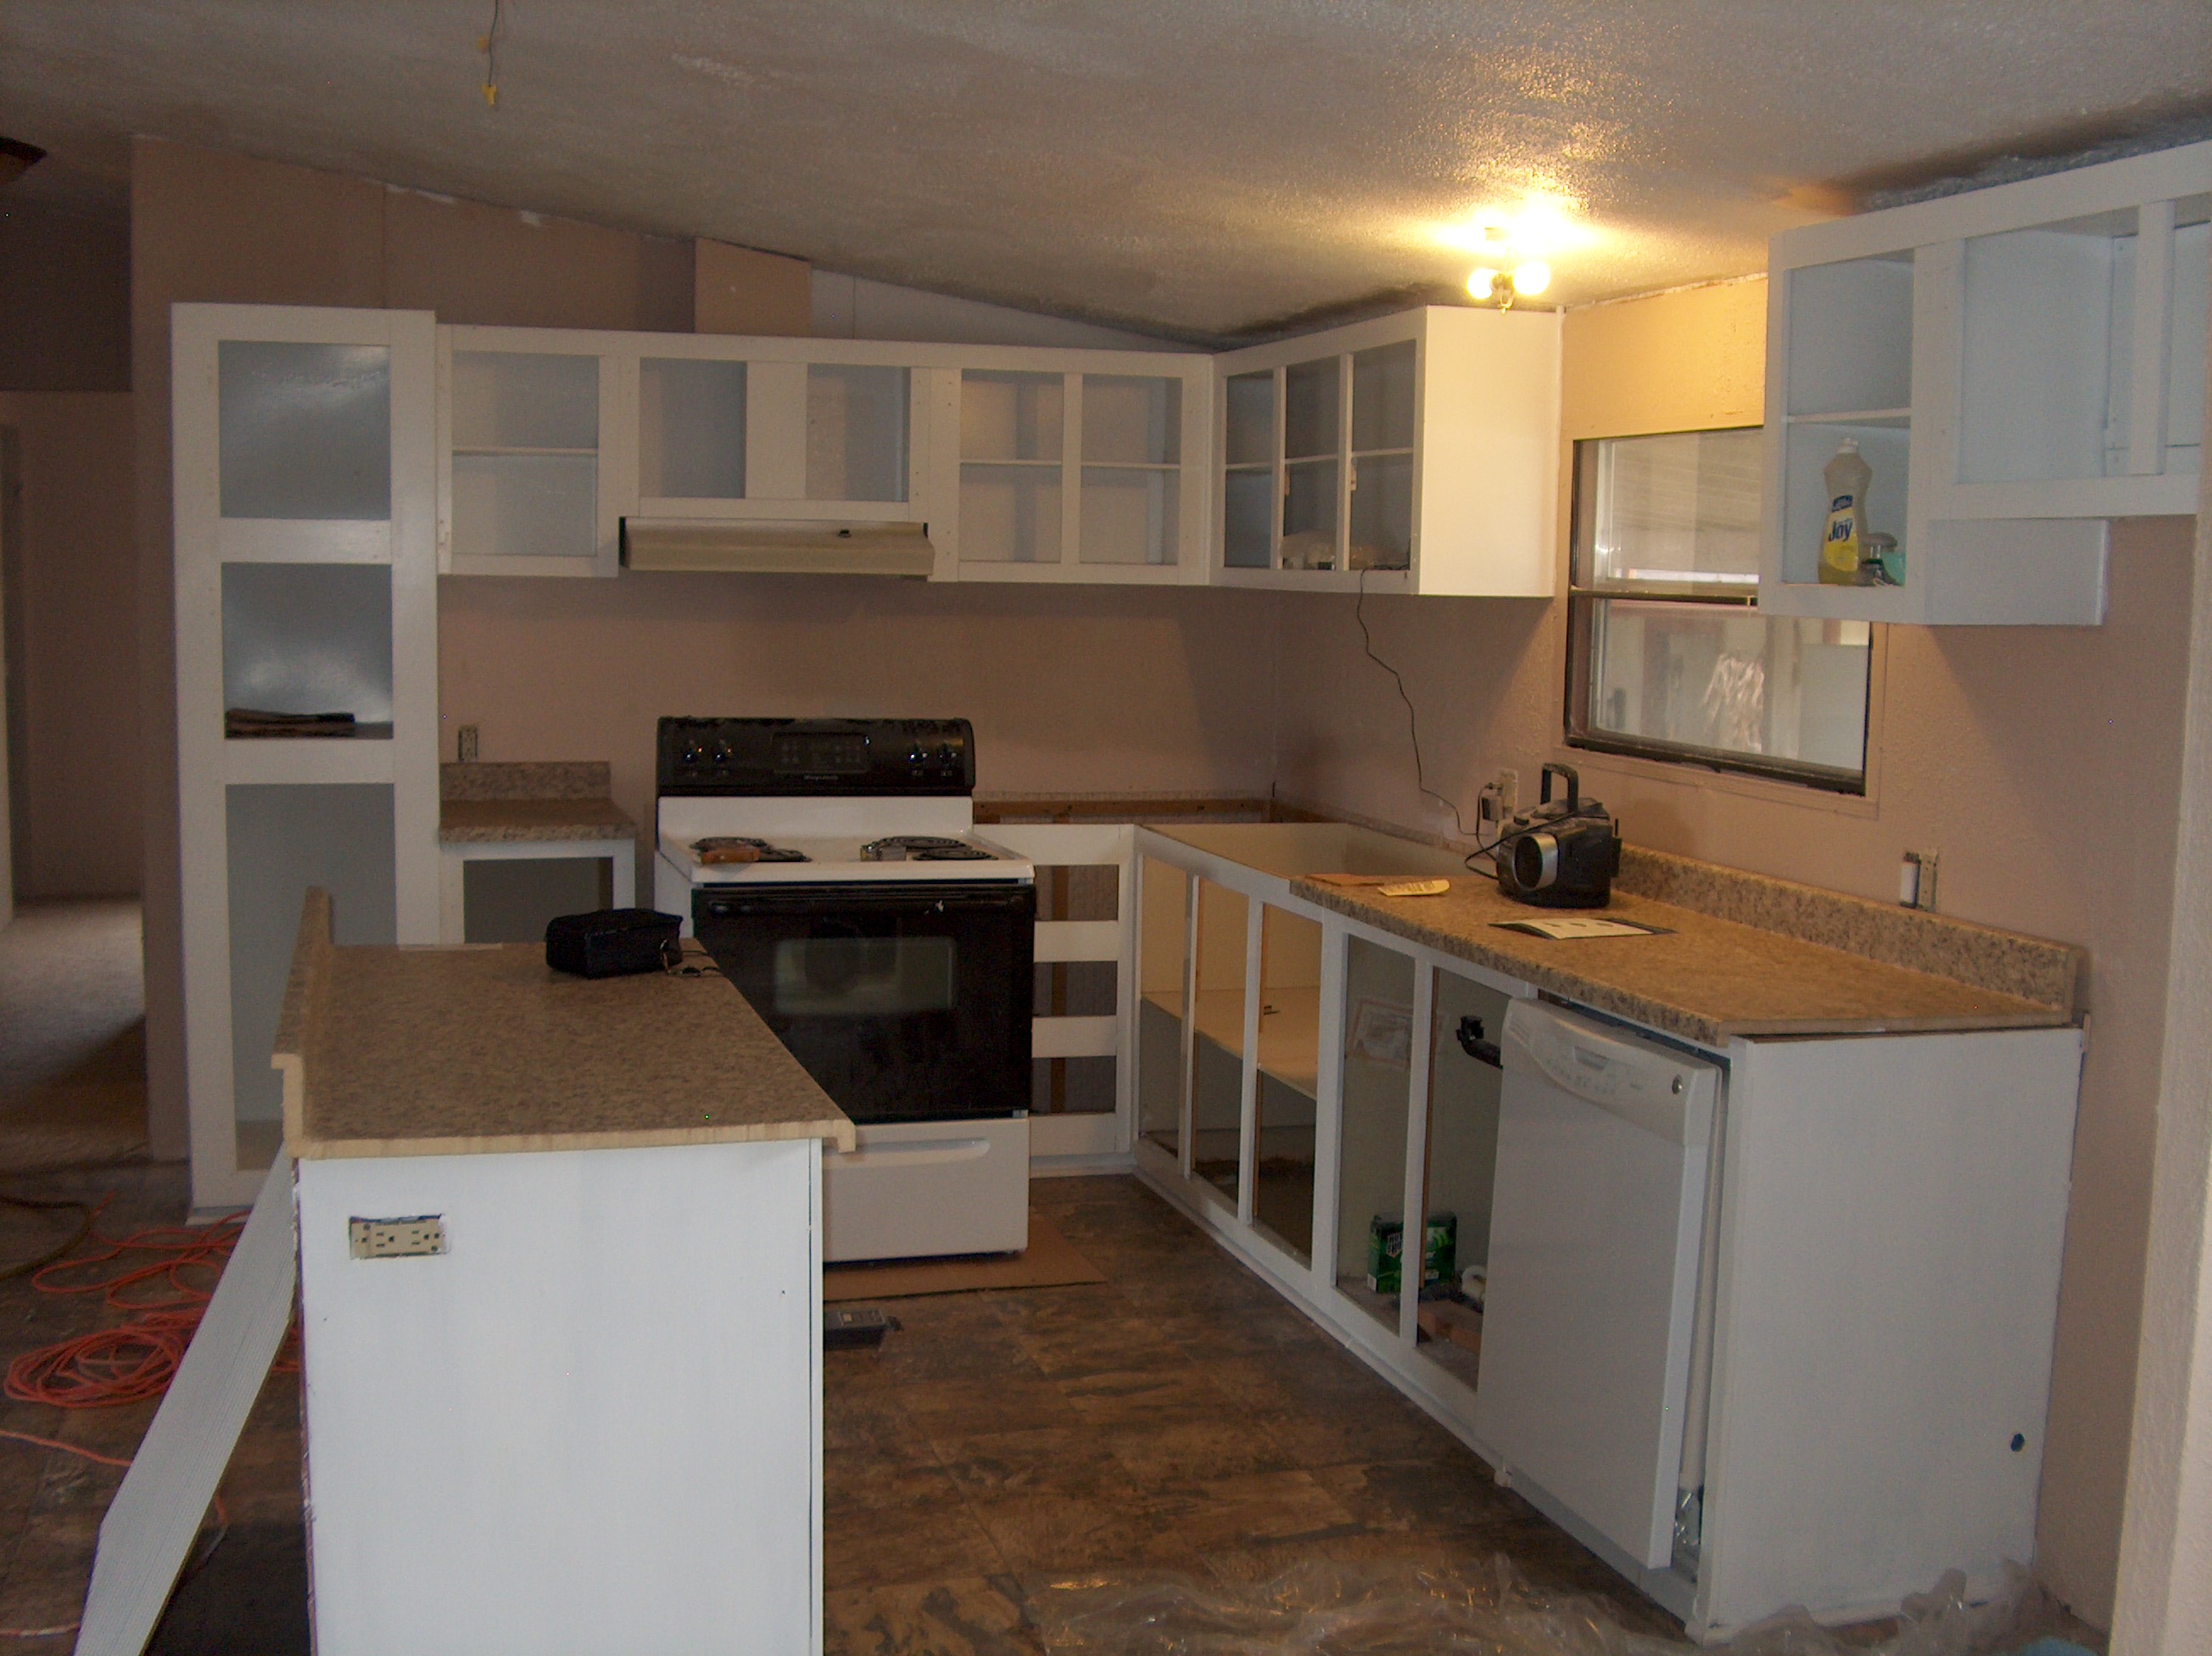
| New counter tops are installed, along with a new double sink, and new faucets. |


| The kitchen is starting to look good, but I still haven't come up with a solution for the cabinet doors yet. So I'm moving on to other things for now. My wife has picked out a brand and style of light fixture that she wants throughout the house, so I'm getting started installing some of them when I can. The first ones installed are the ones over the island, and in the dining room. Originally the light above the island was a simple 2 foot flourescent. After taking it down, I discovered that the wiring just came from the ceiling, that there was no junction box or anything to house the wires. So in order to install the new light over the island, it required me to cut a hole in the ceiling, install a junction box, then run the wire over to where I needed it above the center of the island. This wasn't too difficult and was accomplished without much trouble. The light fixture in the dining room proved to be a little more of a challenge. My wife had picked out a 9 light candelier for the dining room, and it was very heavy. Previously the dining room had a large ceiling fan and light installed, so once I removed this fixture I had a good junction box to tie into. The weight of the new fixture required me to build a support using a ladder and rope to support the fixture while I performed the wiring. Another problem I ran into had to do with the height at which the fixture hung. The fixture was constructed to hang from a chain and a decorative rod. At its designed height the fixture hung too low to be practical in the dining room. To make it work it required me to remove the chain, and cut part of the decorative rod to shorten it. All of this was done, the light fixture was secured, and it looked good, but when I turned on the power and flipped the light switch on nothing happened. I checked my wiring, and everything was connected correctly. I put my meter on the wires to see if I had electricity to the fixture, and a blue spark arched across the wires melting one of the leads to my meter. I immediately shut the power off to the fixture and began tracing the wires to see what had happened. What I discovered was that one of the wires inside the decorative rod had a bare spot on it, and it had cause a short. I repaired the damaged wire, tried the light switch again and everything worked perfect. |


| As an added touch, I installed a decorative medallion on the ceiling above the dining room light fixture, as seen on the right. |
| Another area that needed lots of updating was the central bathroom. The toilet in the bathroom was in good condition. It had been installed only a couple of years ago, and it looked good and functioned without issue, so I decided to leave it alone. The tub /shower was in fair condition also, but the faucet was completely broken. The major issue was with the vanity. It was very dated and had water damage. Also, the light fixture was old and needed to be replaced. I ripped out the sink and vanity, and installed a pedestal sink. The bathroom was rather small, so the pedestal sink opened up the area and made a little more room to move around. I installed a new light fixture that matched the fixtures in the rest of the house, and since I had removed the vanity cabinet to install the pedestal sink, I decided to install a medicine cabinet mirror above the sink. A new sink faucet that matches the one installed in the kitchen rounded out the new fixtures. The last problem to tackle was the broken faucet in the tub/shower. When I tried to take the faucet out however, I discovered that it could not be done from the bathroom. I found that the only way to remove the faucet was from the backside of the wall. It required that I go into the bedroom behind the bathroom, and take out a section of the sheetrock wall. Once this was done, I could easily access the plumbing and replaced the broken faucet with a new one. The biggest problem at this point was that I now had to repair the sheetrock in the bedroom, tape and float the repair, texture the repaired area, then paint it. The sheetrock repair took several days to complete. |

