| homestead experience cont. |
| I've gone through the entire house now. Replaced damaged sheet rock, taped and floated all of the seems. Scrapped all of the popcorn off of the entire ceiling, and now I have a clean slate. Ready for the texture. I've seen and heard of different texture styles. It's been my experience that many of the favorite wall textures out there may look easy to do, but actually take a level of skill and experience. Since I have a very large area of wall and ceiling to texture, I decided to go with a simple and easy route. I purchased a texture pad roller. A texture pad roller is similar to a paint roller pad, except it has a texture pattern imprinted on it. This will allow me to roll the texture compound (or mud as it is commonly called) directly on the walls and ceiling much like rolling on paint. In order to get ready too roll the texture, the first thing I needed to do was mix the mud until it reached the right consistency. Working the mud and mixing it up correctly can be a lot of work if you try and do it by hand. I purchased a stainless steel paddle attachment for my electric drill, which made the job quick and easy. The mud is pretty much just that, so to thin it out, you simply add water. You want the mud to be about the same thickness as a milk shake, so add a little water, mix well and check. If it's still a little thick add more water and mix again. The trick is to add water a little at a time until you get the thickness you want. If you get the mud too thin, you can let the mud sit out and dry out a bit until it thickens up again, but this can take some time, so add water slowly and it will save you lots of time. |

| This is the texture compound I used, and the texture roller pad. |


| To the right are examples of the texture achieved with the texture roller pad. |
| As you can see from the texture samples, you can achieve different texture patterns with the same roller pad. By playing with the roller a little bit, I was able to get a consistent pattern for different applications. I used a rougher texture pattern on the walls, and a lighter texture pattern on the ceiling. When I taped and floated the sheet rock and seams, I was very careful to get a smooth texture with the joint compound. I applied the mud with a small trowel so I had good control, and made sure to feather the edges. Usually when you tape and float sheet rock, it requires you to go back and sand the joints down smooth before you texture the walls. If I was using a lighter texture, I would have, but because I was using the texture roller pad and laying down a rougher pattern I was able to skip this part. Well the texture work went pretty fast, I rolled all of the walls, then rolled all of the ceiling. Since I still have the floors ripped up I didn't need to worry about splatters, so I just rolled on as fast as I could while maintaining an even and consistent pattern. It was a hot summer day when I was doing this, the home is still under construction so the A/C is shut down. Once I got all of the mud on the walls and ceiling, the humidity in the home was 100%! I had not considered this when I was applying the texture, I was sweating buckets because I was working hard and it was really hot. I ended up leaving the windows open and fans running in the house for several days before the texture dried enough for me to consider painting. I think next time I might do the texture in stages to avoid this high moisture situation. |


| Well after several days of waiting, the texture is finally dry enough for me to paint. I might be the contractor on this job, but my wife is the designer. She was very specific about what color she wanted on the walls. Above is the color selection I was given for the walls, a nice neutral beige I think you would call it. I decided to go with a semi gloss finish. This would give the walls a nicer look and make them a little easier to clean. While I was in my local big package store purchasing the paint, I noticed that they had a spray paint gun on sale. It was a Wagner Power Painter Plus. The plus was an attachment that allowed you to run a hose from the spray gun directly into your can of paint. I have used a Wagner Power Painter before, and achieved good results with it, so I was very interested. After looking at the roller pads and considering the hours of effort it would take to roll the entire house, walls and ceiling, it didn't take long for me to decide to purchase the Power Painter. Loaded with ten gallons of paint and a shiny new paint gun, I headed to the house. The plan was to paint all of the walls the beige color, and the ceiling would be white. I decided that painting the walls first would be the best way to go. It would be easier to drape the walls and protect them from the white over spray, then to try and protect the ceiling later. With that thought, I taped plastic sheeting over all of the windows in the house, and proceeded to paint all of the walls. |

| Here is an example of the color on the wall, |

| The painting went really quick. The floors were still bare, so I didn't worry about over spray. I sprayed all of the ceiling with white paint, and the walls with the beige. I purchased my paint in 5 gallon buckets because it was cheaper then purchasing by the gallon, however this created an issue with the paint gun. The paint gun had a hose which I could run directly into the paint bucket, but the hose isn't very long, which meant I would need to be constantly moving the 5 gallon bucket as I went along. My solution was to mix the paint in the 5 gallon bucket, then pour a gallon of paint in a bucket I could easily carry in one hand. This allowed me to paint non stop a gallon at a time. This worked great, I was able to cover a pretty large area with a gallon of paint before I needed to refill my bucket. |

| Well the walls are beige, and the ceiling is white, so my wife wanted a nice accent wall in the dining room. I called it enchilada red! lol!!! |

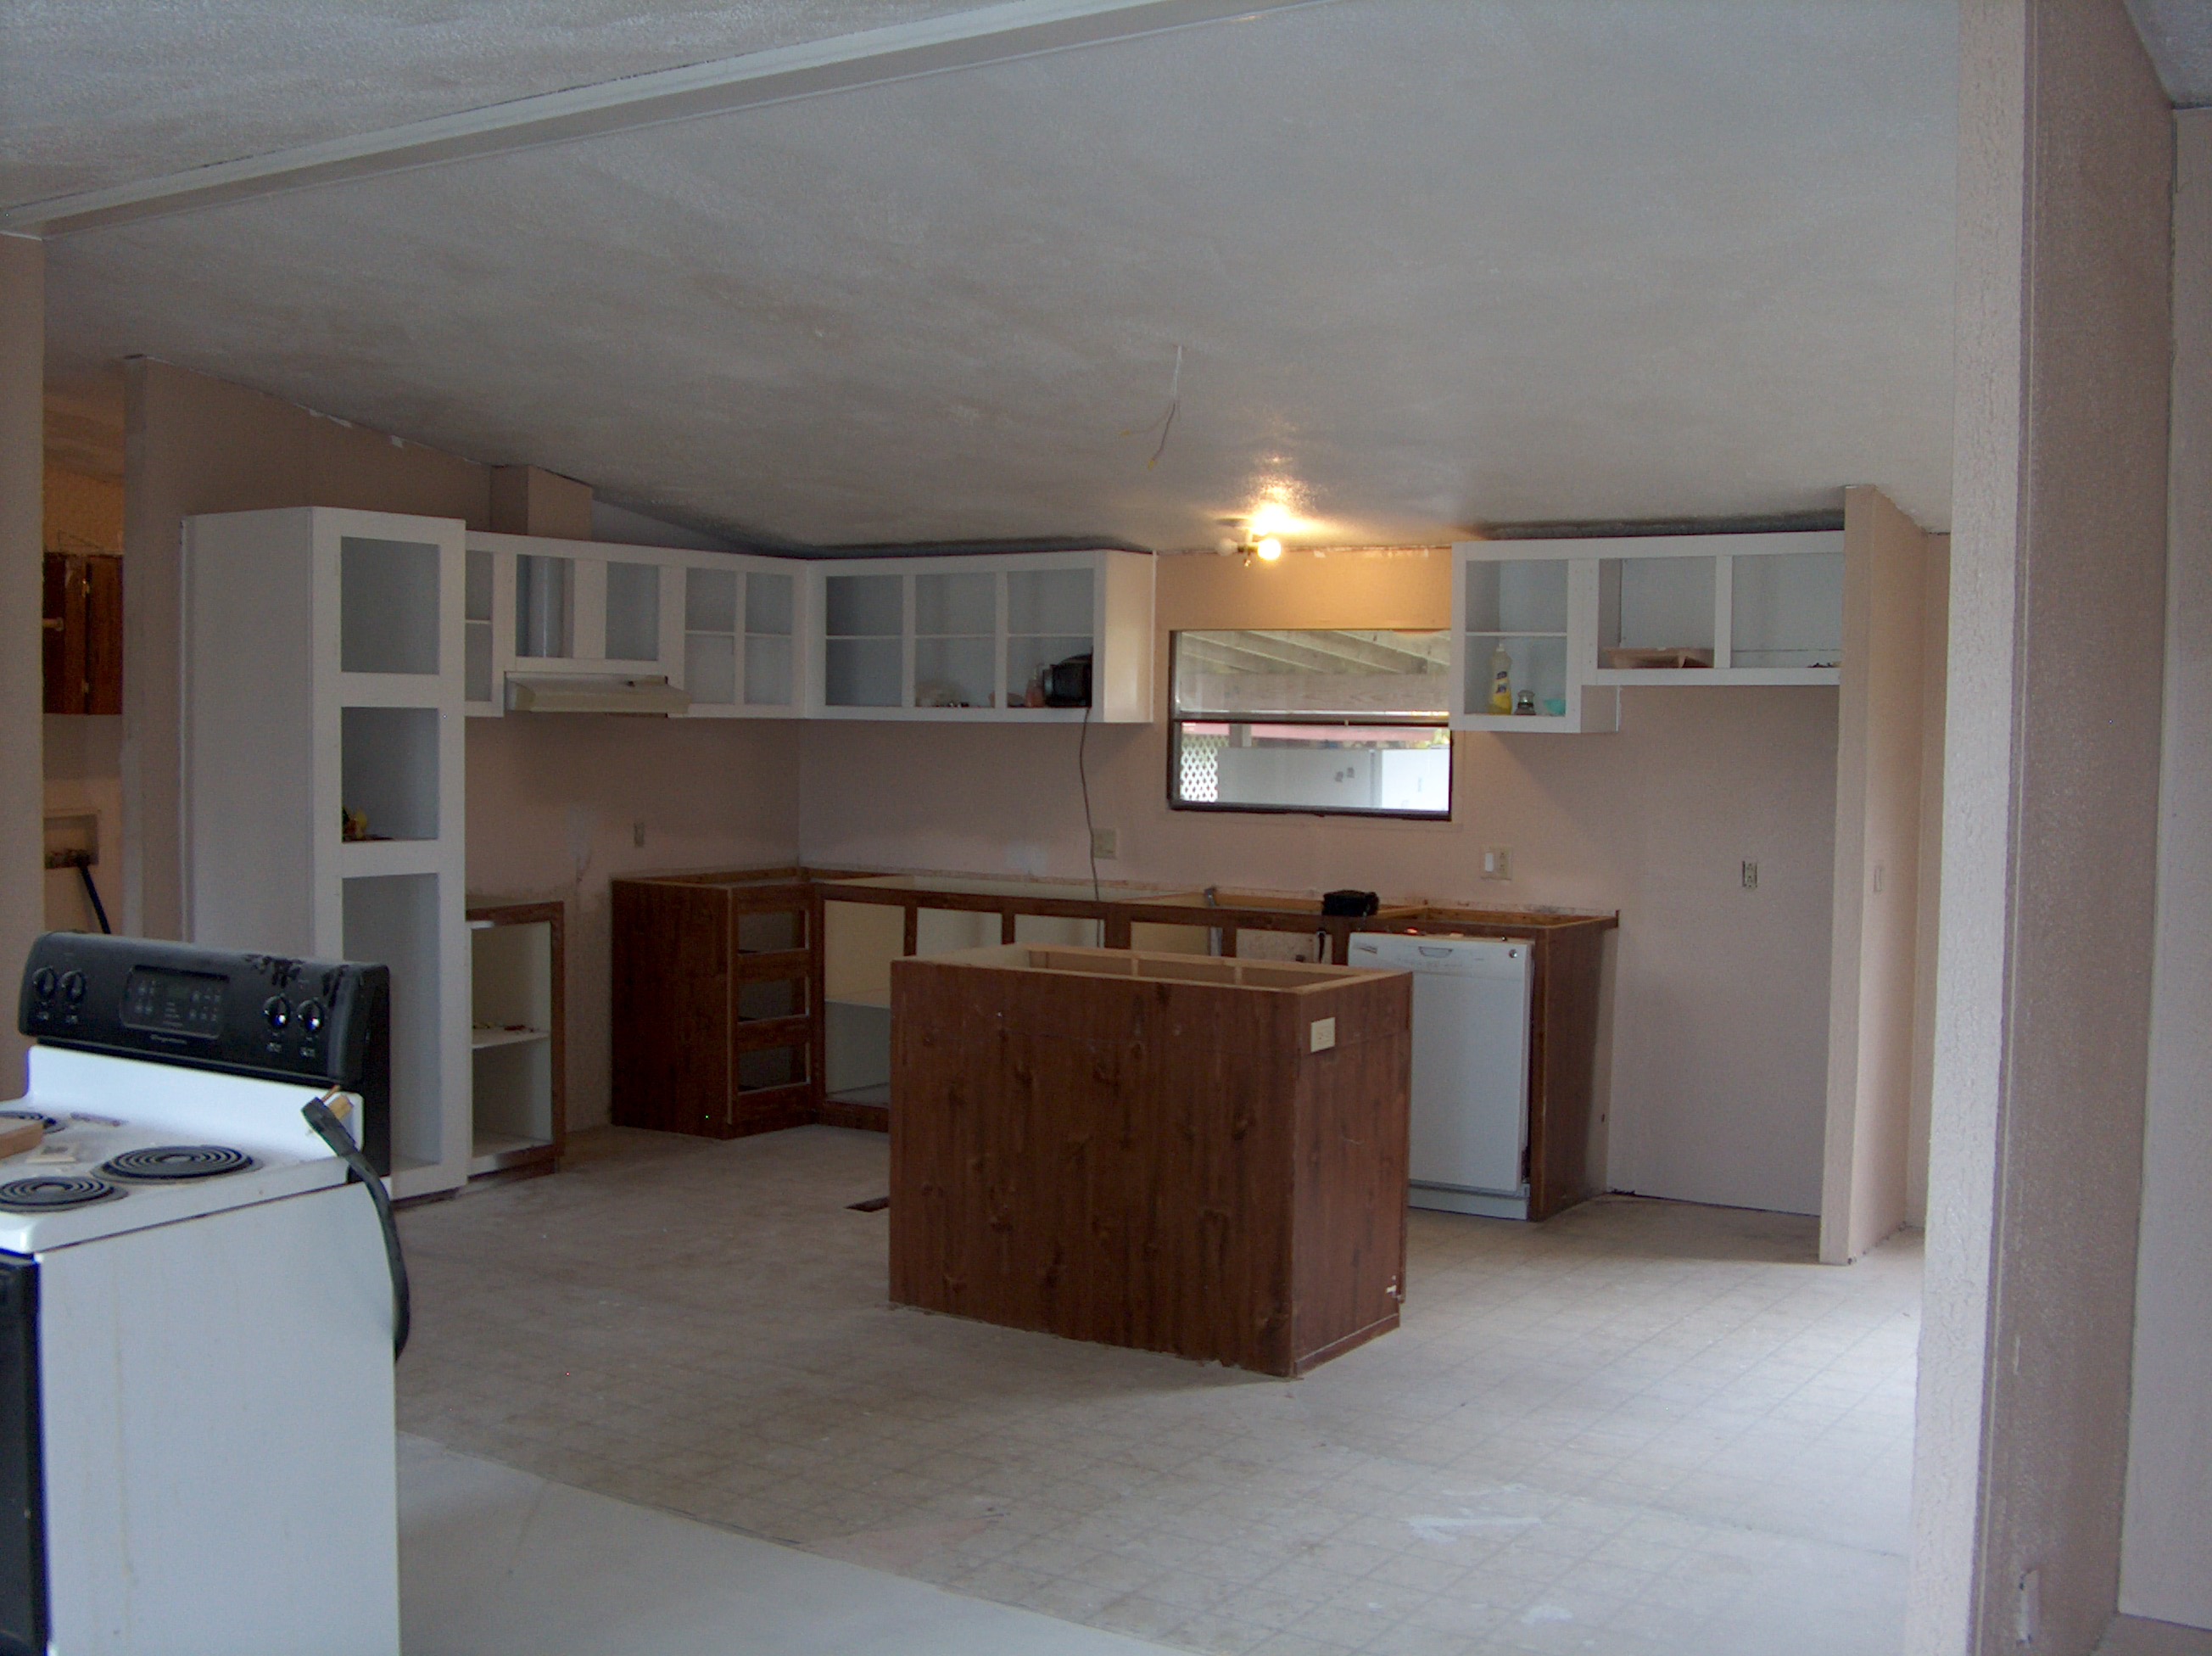
| After the walls and ceiling were painted, and of course the nice red accent wall, I needed to address the kitchen cabinet issue. I had priced new cabinets for the kitchen and it was apparent that I did not have money in the budget for a complete replacement. My solution was the following: I would replace the counter top. I had already budgeted for a new sink and faucet because the old ones were old and messed up. I would remove the cabinet doors and refinish them myself, and also remove and refurbish the hinges. The cabinets did not have pulls or handles, so after everything is completed we'll add some and it should finish things out really nice. My wife decided she wanted the cabinets painted white. I removed the doors and hinges, covered the areas around the cabinets, and using the spray gun and the same white paint I used on the ceiling, I knocked them out pretty quickly. I also decided to paint the built in shelves that are in the living area directly across from the kitchen. I thought this would tie everything together very nicely. On the left you can see the cabinets before I painted, and also how they are beginning to look after painting has begun. Notice the island? In the lower picture you can see that the original island had a waist high wrap around counter. My plan for the island is too remove the wrap around counter, raise the overall height of the island, and replace the island top with a much wider top. |